
|
Sleeping Pad |
R-value |
weight (ounces) |
|
M.H. Highmountain 72 |
6.75 |
29 |
|
B.A. Insulated Air Core |
4.1 |
24 |
|
Big Agnes Air Core |
|
22 |
|
C.D. Thermarest NeoAir |
2.1 |
14 |
|
Z-Rest 3/4 / full |
2.2 |
11 / 15 |
|
C.D. Thermarest Trail 1″ |
3.4 |
24 |
Boating last hurrah
We are boating up to La Conner, with our cookoo captains.

ssh bruteforce attacks become sophisticated
SSH scans and bruteforce attacks that have have been common since my first SSH enabled server was attacked in 1996. Back then, attacks were so rare that monitoring logins and manually adding attackers IPs to /etc/hosts.allow (TCP Wrapper) was sufficient to keep systems secure.
In the mid 2000’s, the rise of botnets resulted in distributed bruteforce attacks, in which dozens of IPs (bots) would attempt to bruteforce my SSH daemons. I wrote a shell script that collected the IPs and added them to the TCP Wrappers deny list. A while later, denyhosts, was released and I started using it instead of my shell script.
Since installing denyhosts, I only monitor logins and scan the nightly security reports. In the past few years, the frequency of attacks has slowly risen but occasionally there are significant changes in attack frequency and duration. The last significant escalation I can recall was in the months leading up to McColo being shut down. Immediately after their shutdown, I noticed a dramatic reduction in bruteforce SSH attacks.
It was during that time of increased activity that I wrote Sentry. Like my original shell script and denyhosts, it adds attacking IPs to the TCP Wrappers deny list. Sentry also adds their IPs to my PF firewall. Sentry worked much the same as denyhosts, except that when someone attacks one of my IPs, they got blacklisted on all of them. The number of attacks that made it into my security logs dropped accordingly.
Months later, after McColo was shut down, the distributed attacks all but ceased. Since then, attacks have remained sporadic, perhaps 10 a week. In the last couple weeks, the number of attacks spiked. I’m seeing dozens of new IPs getting blacklisted each day. Unlike previous attacks, the usernames the attackers are using are not being duplicated, which means the command & control network behind this latest round of attacks is more intelligent than most.
Halloween

sometimes it hurts to reboot
This is one of those times:
# w

 2:14PM  up 733 days, 13:51, 3 users, load averages: 0.45, 0.11, 0.04

# reboot
Smelling the roses
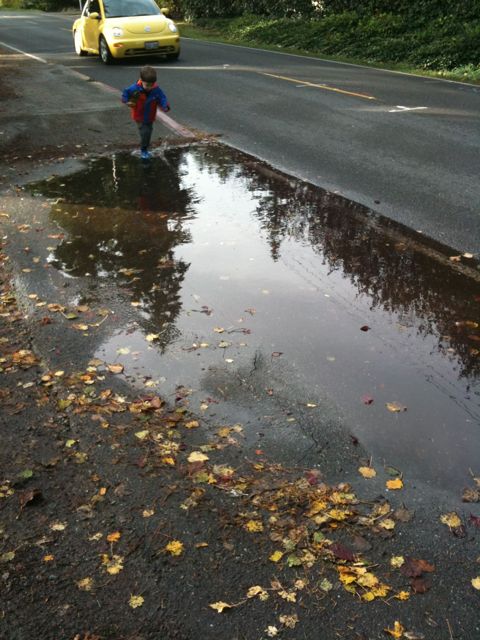
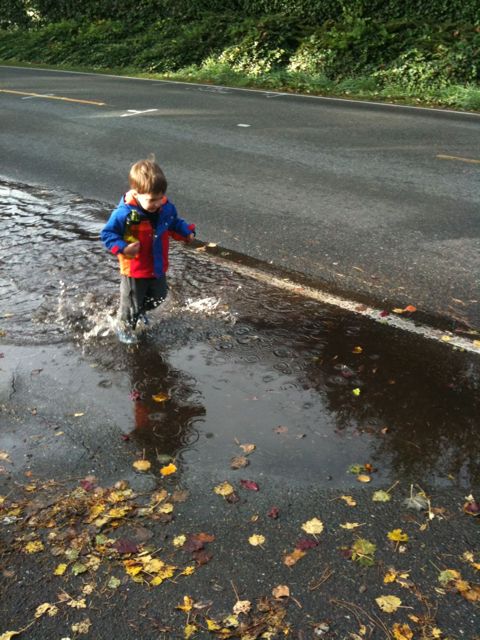

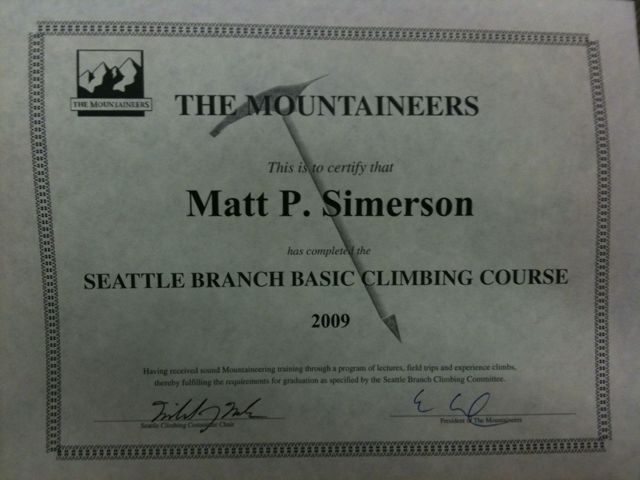
I graduated
Happy Birthday Lucas
Here’s a video of the kids tearing into presents sent by Grandpa and Grandma Simerson.

What women want
10-13-2009
Jen complains about the difficulty of cleaning an old muffin tin.
Matt suggests getting a new muffin tin.
Jen says, “I don’t need it, I already have another one.”
Later that night, the old muffin tin finds itself outside with the rest of the recycling.
10-16-2009
A box from Amazon.com arrived. I wonder if it has a 5-star rated muffin tin inside?
10-19-2009
5:29 PM Jen: I like the new cupcake pan. It cleans up soooooooo nice. 🙂
5:29 PM Matt Simerson: 🙂
5:29 PM Jen: Very easily!!!!! Sickeningly easy cleanup.
5:30 PM Matt Simerson: awwww, shucks
5:30 PM Jen: maybe we should ditch the other one too 🙂
less paper, no regrets, part 3
To get a single document into Paperless while accomplishing the goals listed in part 2 requires several steps:
- Scan documents to PDF files
- Process PDFs through OCR engine
- Import PDFs into Paperless.app
The ScanSnap comes with ScanSnap Manager. SSM allows you to create scan profiles, which specify scan quality, destination (file, OCR app, Paperless.app, etc), and simplex versus duplex (one or both sides of the paper). There are 4 quality choices: Normal (150dpi, 18ppm), Better (200dpi, 12ppm), Best (300dpi, 6ppm), and Excellent (600dpi, 0.6ppm). Excellent is very slow. I use it only for scanning photos.
I ran a few OCR tests to determine what settings would result in the highest degree of OCR accuracy. Adobe suggests scanning in Black & White at 300 or 600 dpi. The tips I found on Abbyy’s site suggested that the higher quality the scan, the better the results. After experimenting, I reached the following conclusions:
- Acrobat Pro goes a good job on high quality text documents
- Acrobat does a poor job on halftone text (i.e., receipts printed on thermal printers, dot-matrix, faded documents)
- On documents that Acrobat does poorly at, it does no better if the document is scanned in B&W versus color.
- When scanning in B&W, faded receipts are often illegible. Scan in color instead.
- Abbyy FineReader does a great job on most any legible scans
- The difference between 600dpi and 300dpi is not significant
Factor in that disk is cheap, my time is not, and I’ll never be able to scan these documents again, and the settings I use for all documents is: Best, Duplex, and Color. Color is easy to desaturate to greyscale, the ScanSnap will omit the back side of the page if blank, and I can downsample images later if I need to. With Best quality, it takes about the same amount of time to scan a stack of documents as it takes me to sort, organize, and jog a fresh stack for the document feeder.
ScanSnap Manager will feed new scans directly to an application. So, I tested by configuring it to scan the document directly to FineReader for OCR processing. While that may work well for day-to-day SOHO needs, it is too slow when staring down a mountain of papers. For that, raw speed is required and nothing will get you through step 1 faster than saving to files.
There is one more setting to deal with. This dialog box describes the choice:

If I have a stack of 50 sheets in the document feeder, do I want them to end up as 50 PDF files, or one PDF with 50 pages? If the 50 pages are each individual receipts, then I want them each as individual files. When I have more than one page in a document, such as a phone bill or American Express cardholder statements, a multipage PDF is perfect. The ScanSnap can’t really know my intent so I must tell it. I do so by creating two profiles, one called ‘Standard’ which is a multipage PDF. It takes everything I drop in the hopper and outputs a single PDF. My second profile is named ‘One file per page,’ and it does just that.
Next time, “the shortest path between 8 file drawers of paper and 10,000 PDFs”
You must be logged in to post a comment.